DIY Room Redesign on a Budget
What is DIY Room Redesign on a Budget?
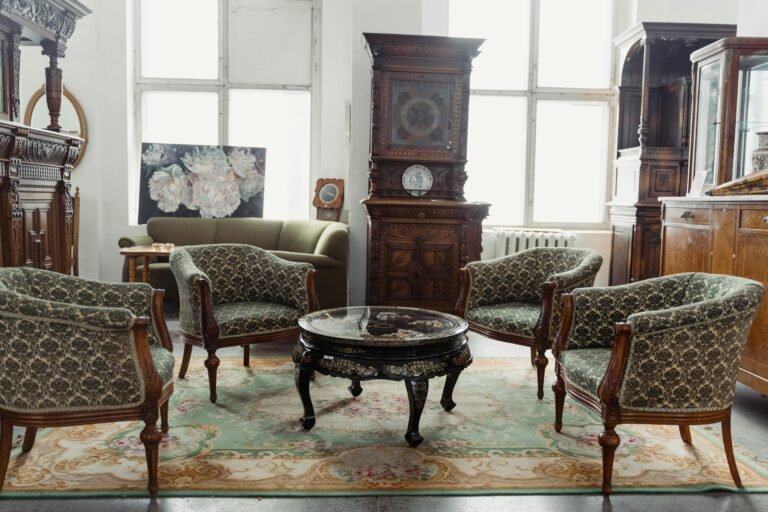
DIY room redesign on a budget. When you think of renovating your space, the first thing that probably comes to mind is big budgets and contractors. However, DIY room redesign on a budget empowers you to breathe new life into your space affordably, creatively, and personally. By focusing on core elements like paint, layout, and repurposing what you already own, you achieve a fresh look without overspending.
2. Why DIY Redesign Works Wonders
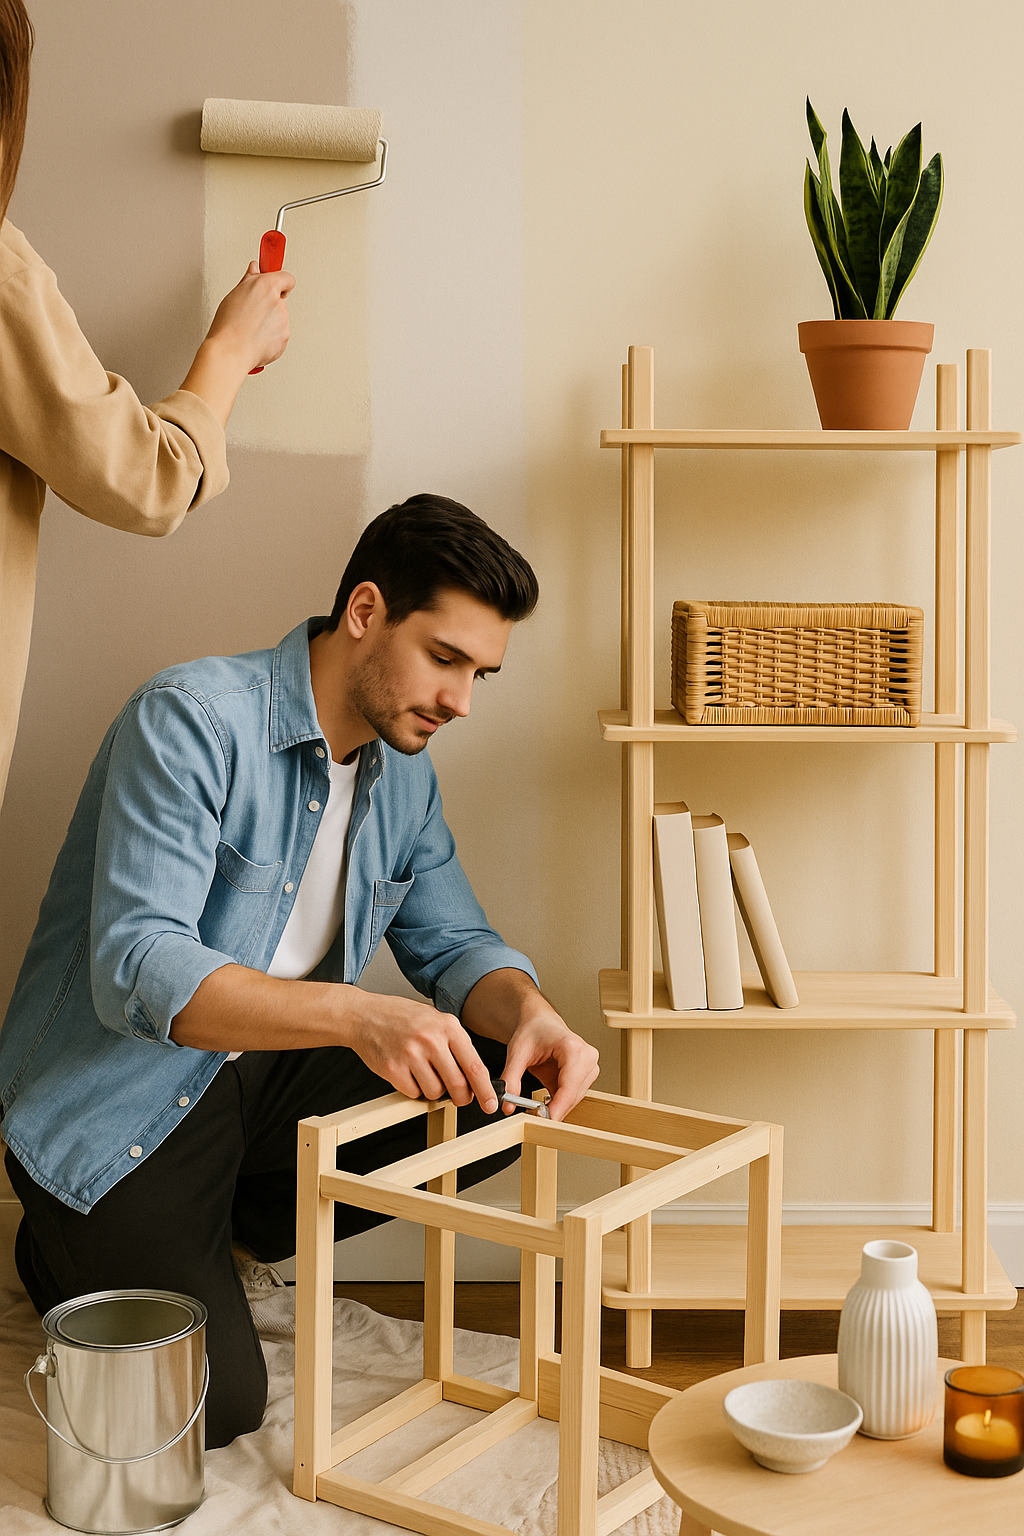
First and foremost, crafting your redesign allows for full creative control. You choose the colors, the layout, the vibe. Along the way, you’ll take pride in each repaint, upcycle, and new arrangement.
Also, you save a bundle. By doing the physical work yourself and hunting bargains, you can transform your space for a fraction of what professional’s charge.
Finally, it’s a growth journey. You’ll learn useful skills—painting, basic carpentry, décor styling. And most importantly, you’ll own the outcome, making the result truly meaningful.


3. Step-by-Step DIY Room Redesign on a Budget
To succeed, follow a structured process—from assessment to final styling.
3.1 Assess Your Space and Goals
Start by asking:
-
What isn’t working? Clutter, mismatched accents, poor layout?
-
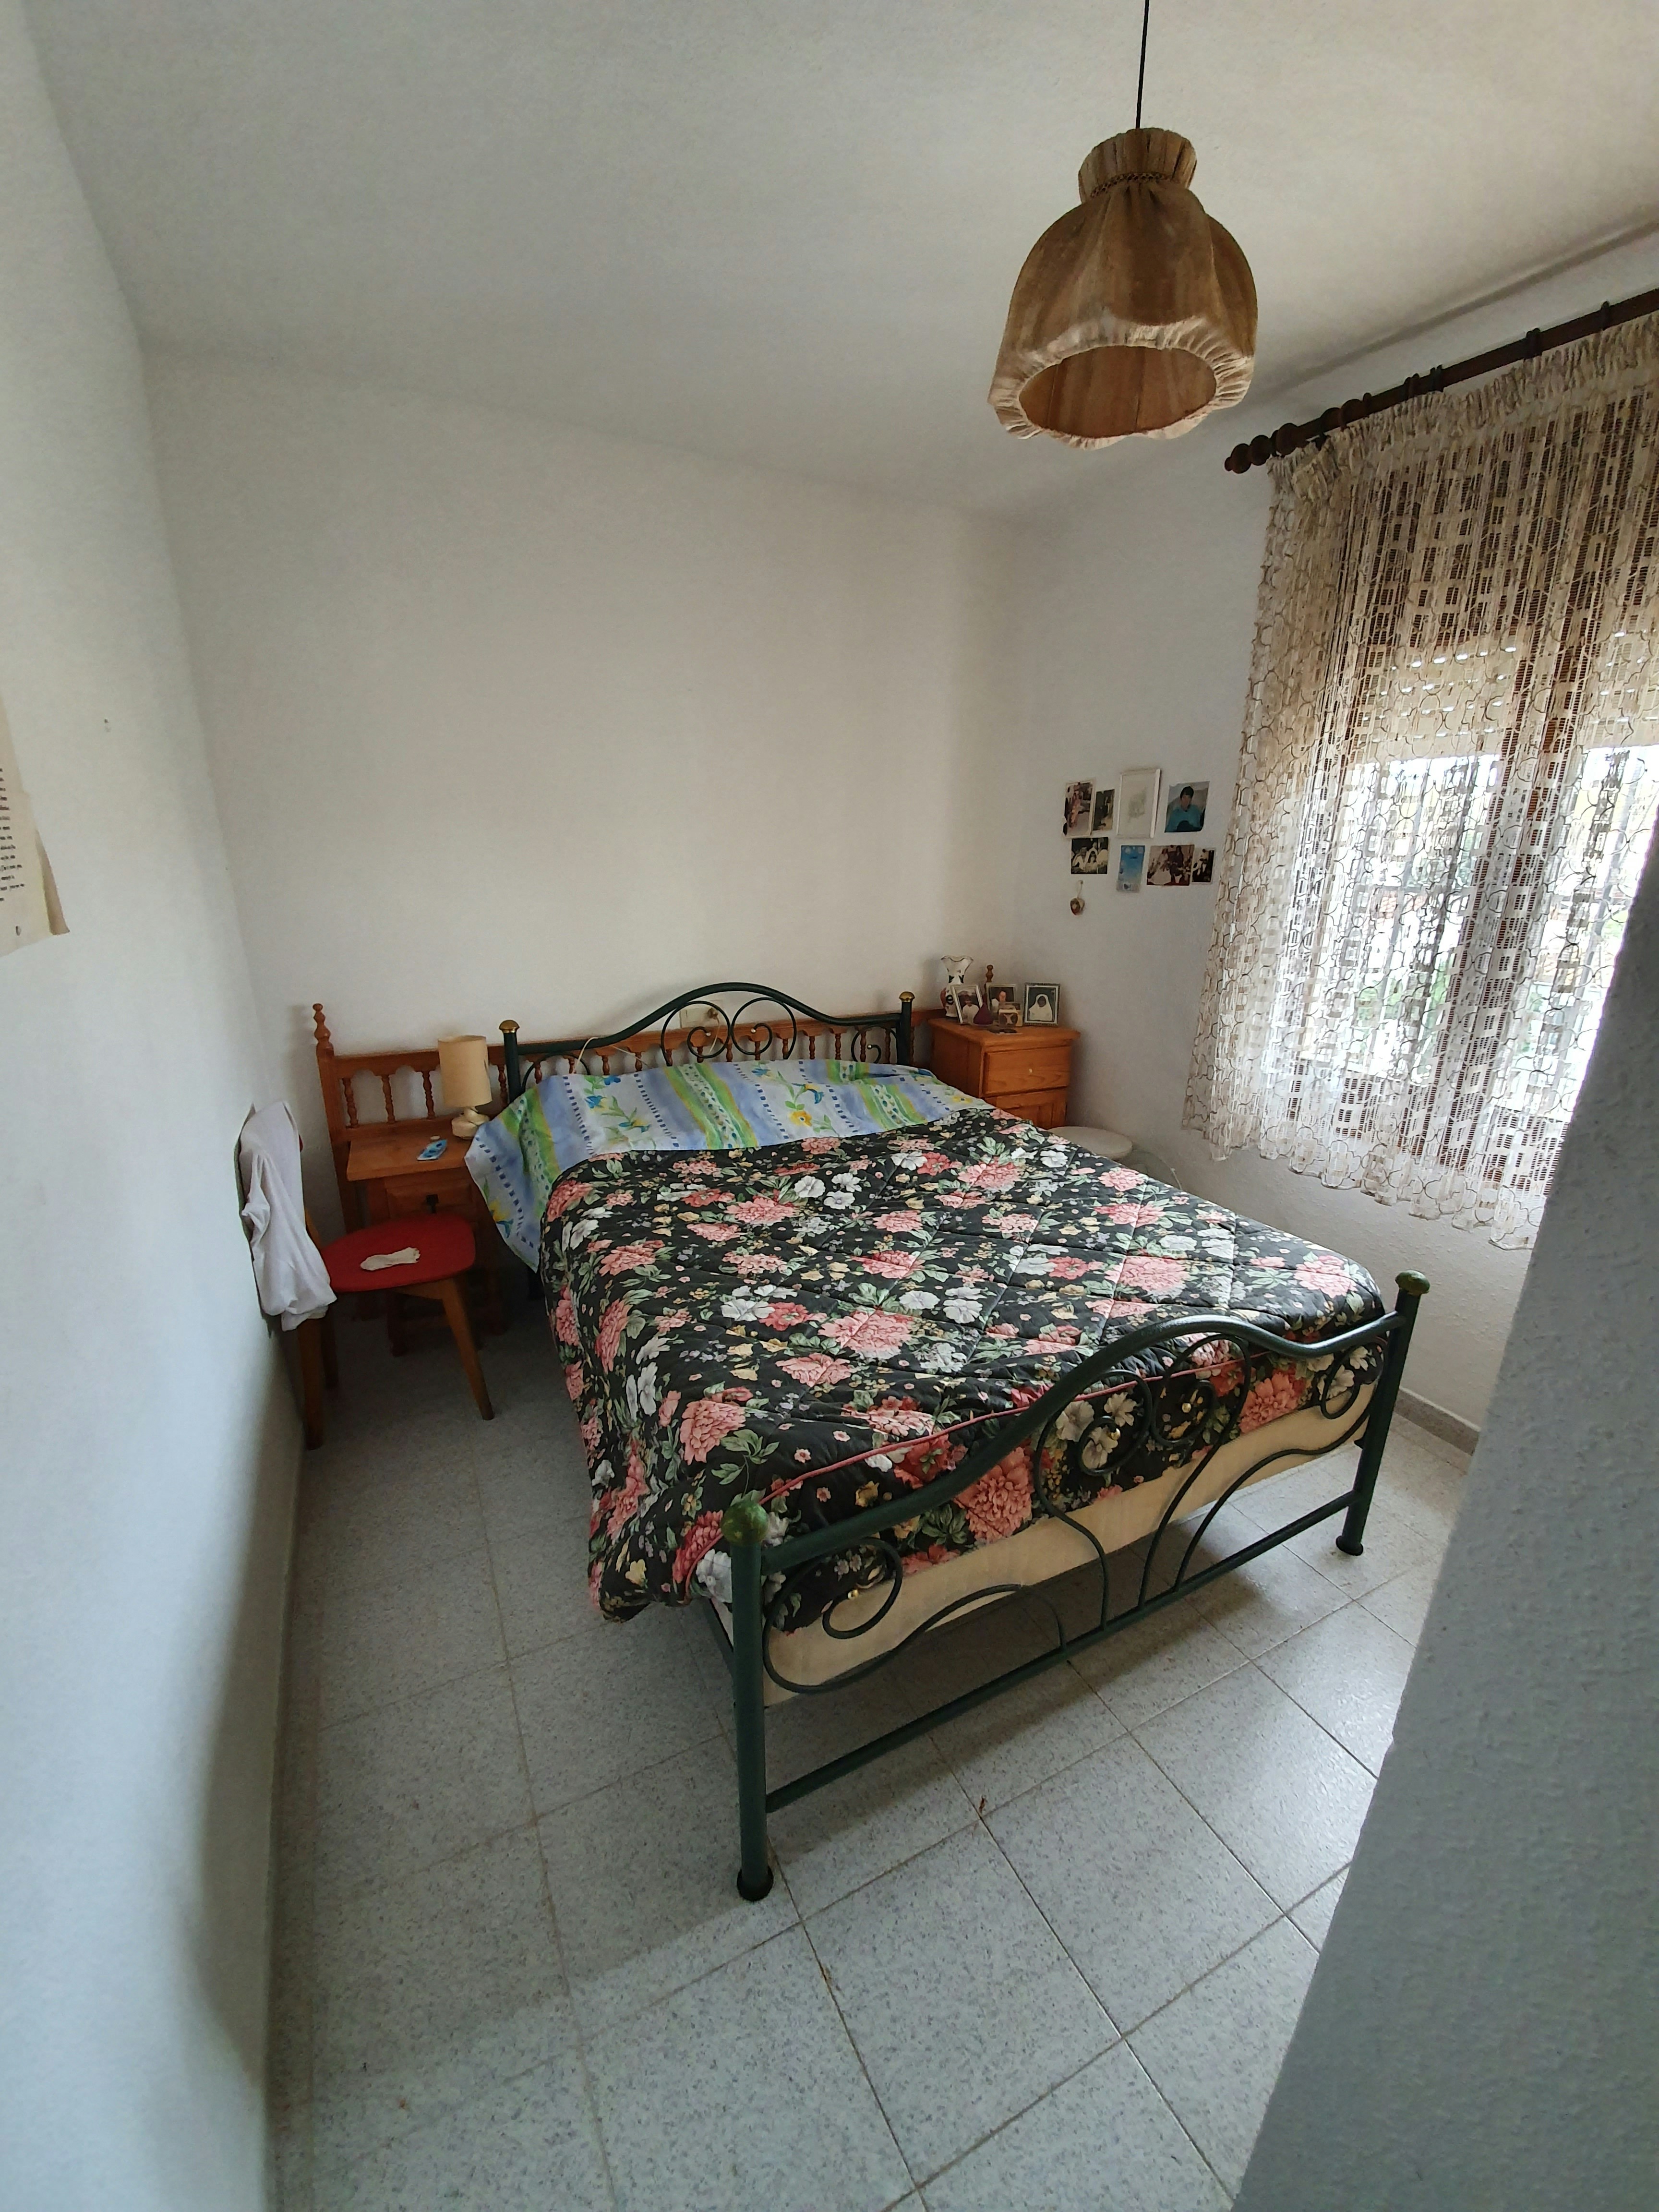
How do you use the room? Decor choices for a bedroom differ from a home office.
-
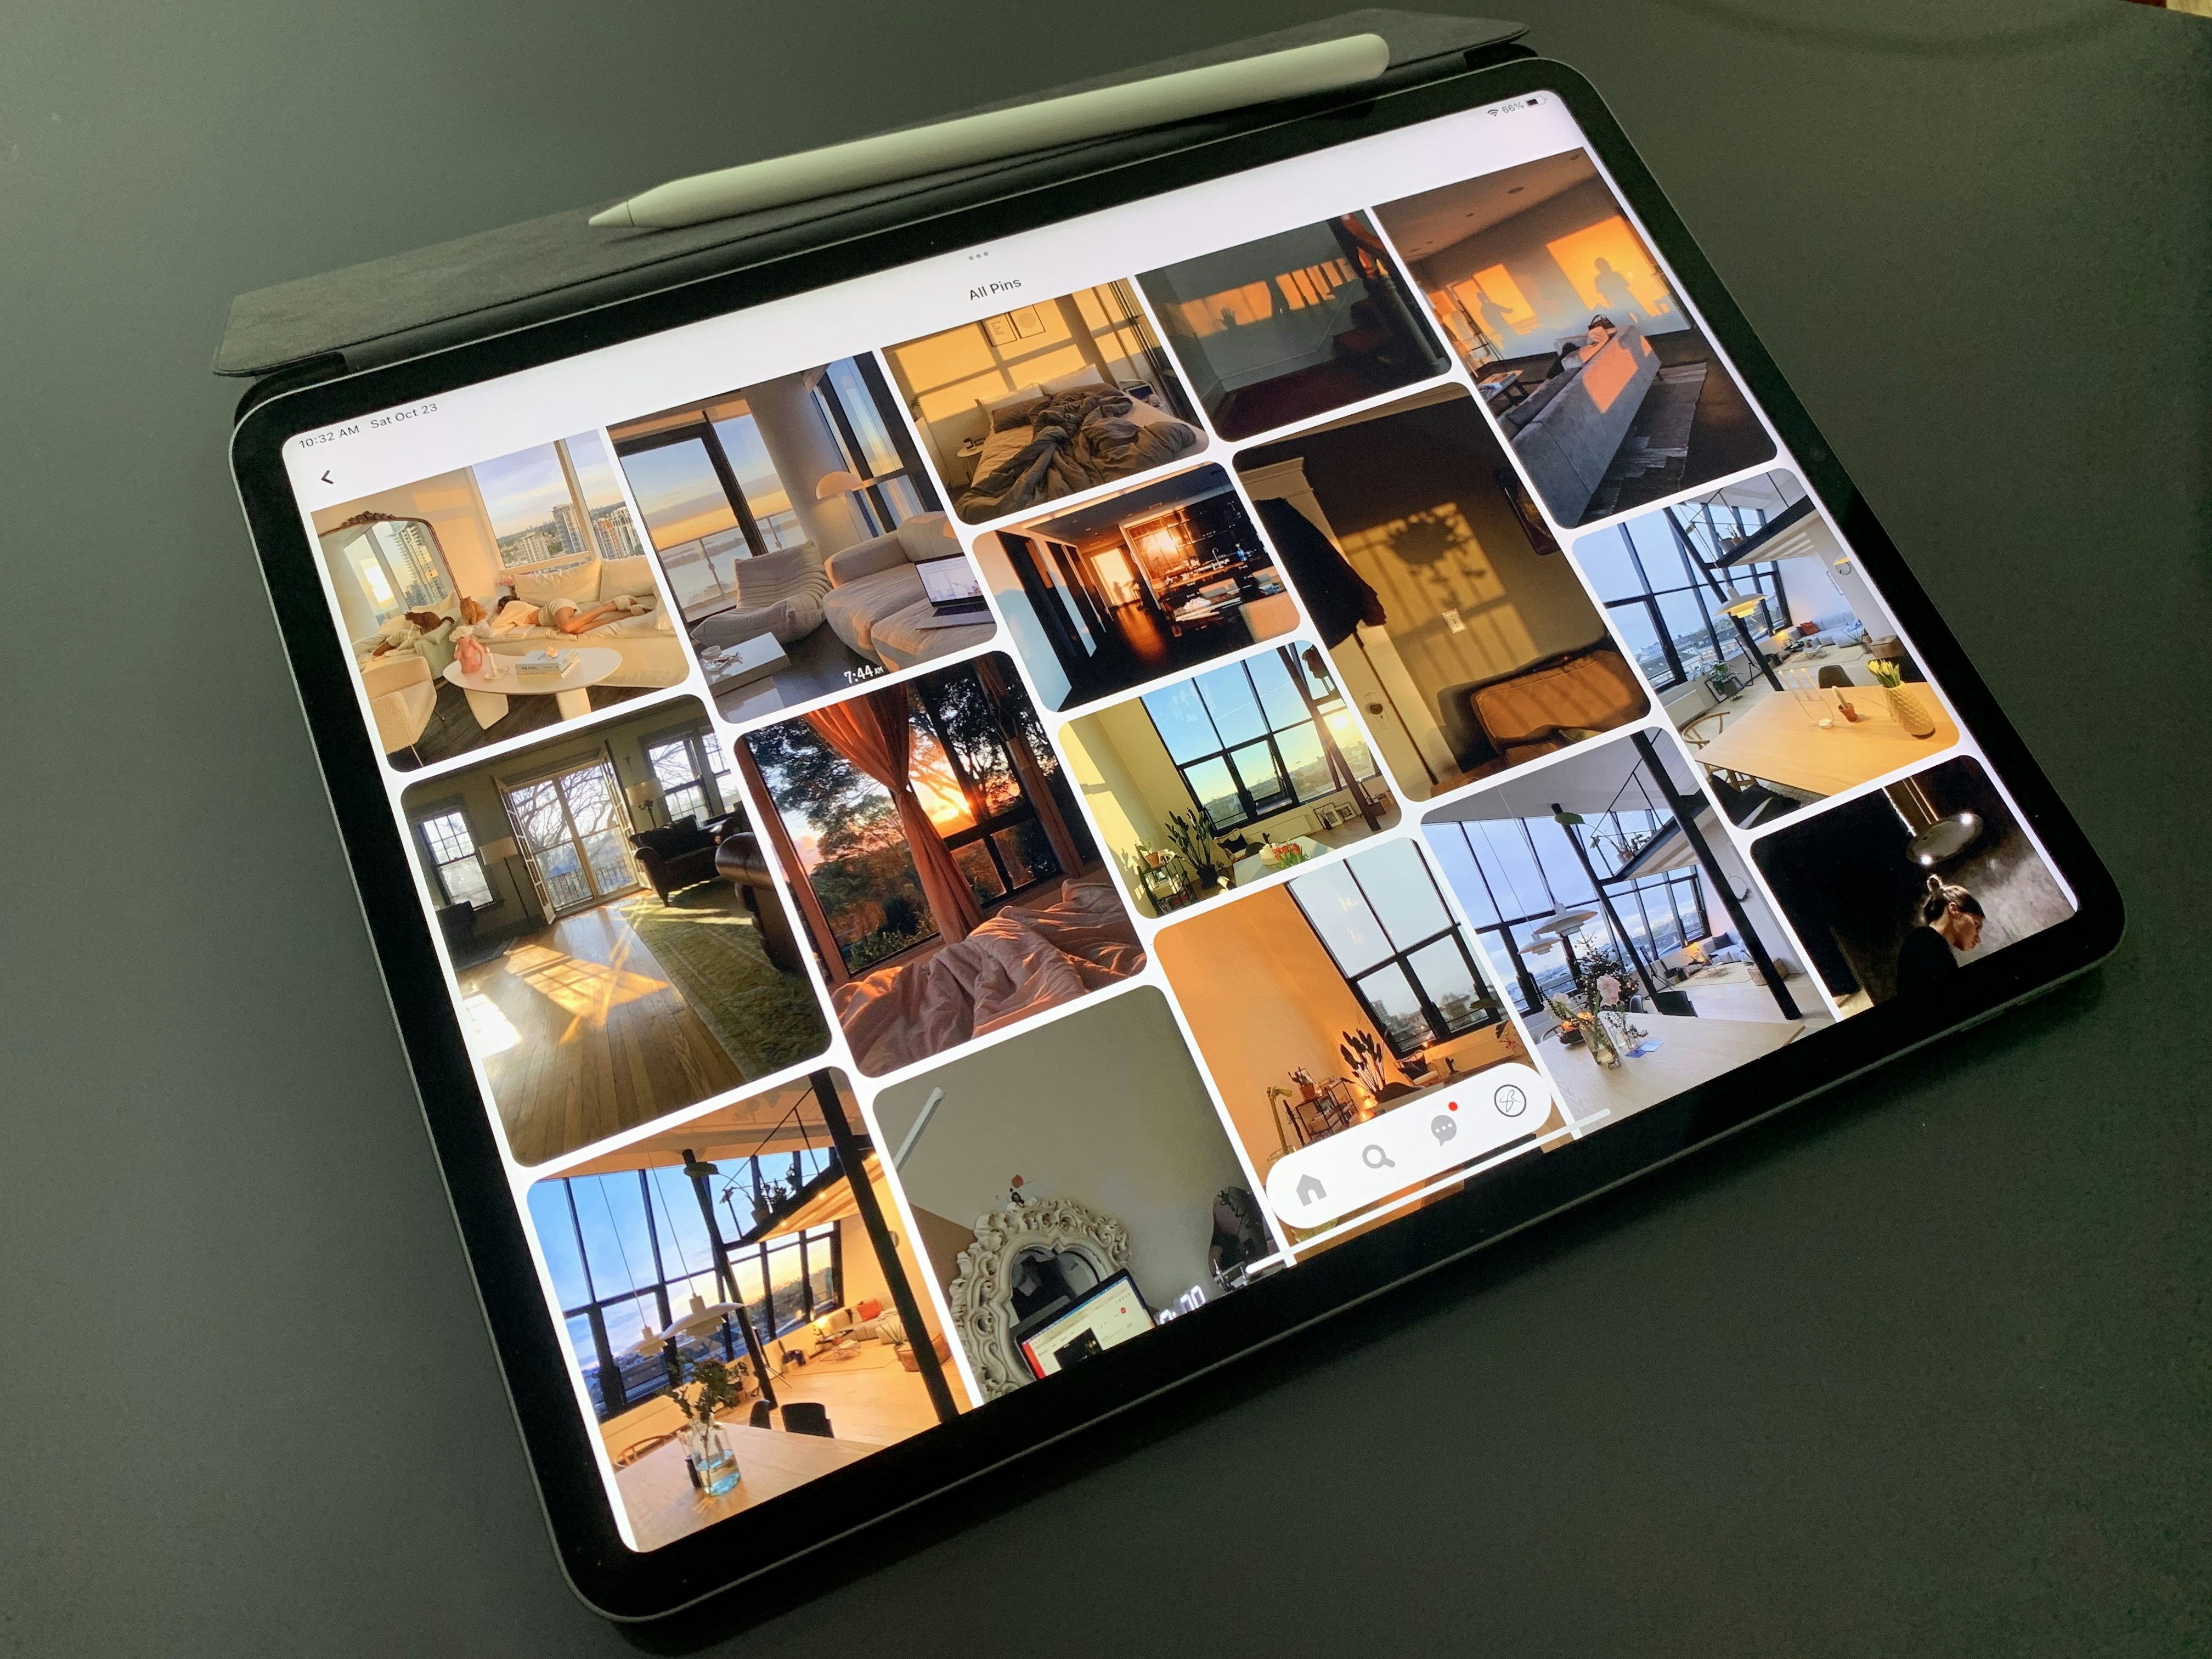
What’s your dream aesthetic? Look on Pinterest or design blogs. Save images of looks that speak to you.
Document current issues and wishes. Measure walls, windows, and furniture footprint. This helps avoid costly mistakes later.
3.2 Set a Realistic DIY Room Redesign on a Budget
Divide your total funds into categories:
| Category | Budget Allocation (%) |
|---|---|
| Paint & Supplies | 25% |
| Furniture & Fabrics | 30% |
| Lighting & Finishes | 15% |
| DIY Tools | 10% |
| Decor & Accents | 20% |
Set a cap, for instance $500 or $1,000. Then track expenses using a simple spreadsheet or budgeting app. That way, you prevent overspending.
3.3 Gather Tools and Materials
To begin, gather:
-
Painting kit—rollers, drop cloths, painter’s tape
-
Sandpaper for prepping surfaces
-
Basic tools—screwdrivers, hammer, electric drill
-
Upcycling gear—spray paint, new hardware, wood glue
-
Decor items—cushion covers, framed prints, baskets
Rather than buying full price, try borrowing tools or checking local secondhand shops for deals.


3.4 Design and Layout Tips
-
Start with a mood board. Combine paint swatches, fabric samples, and images to visualize your design.
-
Define a focal point. It could be a gallery wall, a standout piece of furniture, or an accent wall.
-
Balance flow and proportions. Ensure traffic routes feel open, and furniture doesn’t overwhelm the space.
-
Layer textures. Mix smooth fabrics, plush rugs, and wood to create visual depth and warmth.
3.5 Paint and Color Choices
Paint delivers maximum impact for minimal cost. Choose neutral base tones (soft gray, off-white, beige) for longevity. Then add an accent wall or paint the ceiling for visual interest.


Pro tips:
-
Test several samples in corner patches to see how lighting affects them.
-
Use egg-shell or satin finishes—they resist scuffs and match most décor styles.
-
Combine budget-friendly brands with techniques like proper prep and primer. This ensures high-end looking results, even from cheaper cans.

3.6 Furniture Refresh Hacks
Instead of replacing every piece, consider:
-
Refinishing old dressers or tables with stain or paint.
-
Swapping hardware, like knobs and pulls, for instant upgrades.
-
Reupholstering, even basic cushions—just new fabric can feel transformative.
-
Rearranging layouts—sometimes a room seems brand-new just by flipping the setup.
3.7 DIY Decor and Personal Touches
Budget-friendly ideas include:
-
A gallery wall made of thrifted frames.
-
Floating shelves supported by repurposed brackets.
-
A DIY plant corner using budget pots and easy-care houseplants.
-
Reusing jars and containers as elegant, personalized storage solutions.
These creative touches personalize your space while keeping costs in check.
4. Top 5 Budget-Friendly Techniques: DIY Room Redesign on a Budget
-
Accent Wall Using Leftover Paint
Instead of buying new paint, use leftover cans to highlight one wall and make a big visual statement. -
Hardware Makeover
New knobs or handles cost under $10 each but instantly refresh cabinetry and furniture. -
Thrift Flips
Hunt at garage sales, thrift stores, or online marketplaces—the right refinished find can become a showpiece. -
DIY Art Prints
Download free printable designs or quotes online, print them, and add simple frames. -
Smart Lighting Upgrades
Ready-made string lights or LED strips bring movable ambiance at low cost.
5. Common Pitfalls—and How to Avoid Them
-
Skipping prep. Poor surface preparation leads to paint flakes and peeling.
-
Choosing bad colors. Always test patches under real room lighting.
-
Ignoring scale. Too-large rugs or oversized furniture can overpower small spaces.
-
Buying impulse décor. Stick to your vision and avoid temptation.
6. Resources and Product Suggestions
-
YouTube tutorials: Look for channels demonstrating furniture painting and room makeovers.
-
Material sourcing: Thrift stores, Habitat for Humanity ReStores, Facebook Marketplace.
-
Budget paint brands: Many delivers quality at low cost—focus on coverage and prep.
-
Upcycling inspiration: Pinterest and DIY blogs often provide detailed guides.
7. Final Takeaways: Your DIY Room Redesign on a Budget
In the end, DIY room redesign on a budget delivers more than just a refreshed space—it brings pride, creativity, and new skills. By planning carefully, shopping smart, and adding personal flair, you can transform your room in a way that reflects you. Whether you’re repainting, repurposing, or re-styling, the key is intention. When you approach it step by step, your budget makeover becomes an empowering journey—one you’ll love living in.
8. FAQ
Q1: Can I do a room redesign under $200?
Yes—prioritize paint, hardware swaps, and creative decor. Focus on one area and stretch your budget with DIY.
Q2: How long does a DIY redesign take?
If you work weekends or evenings, expect 1–3 weekends for painting and setup, depending on room size.
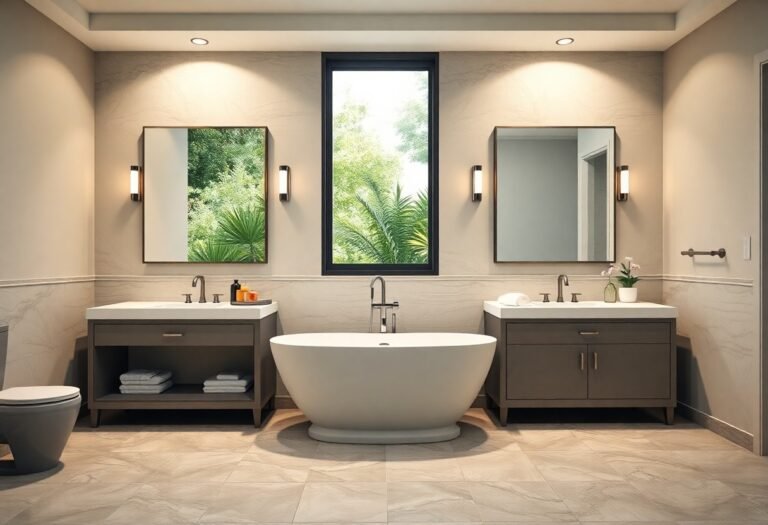
Q3: What are the easiest rooms to redesign on a budget?
Bedrooms, home offices, and living rooms are ideal. Focus on the area you inhabit most.
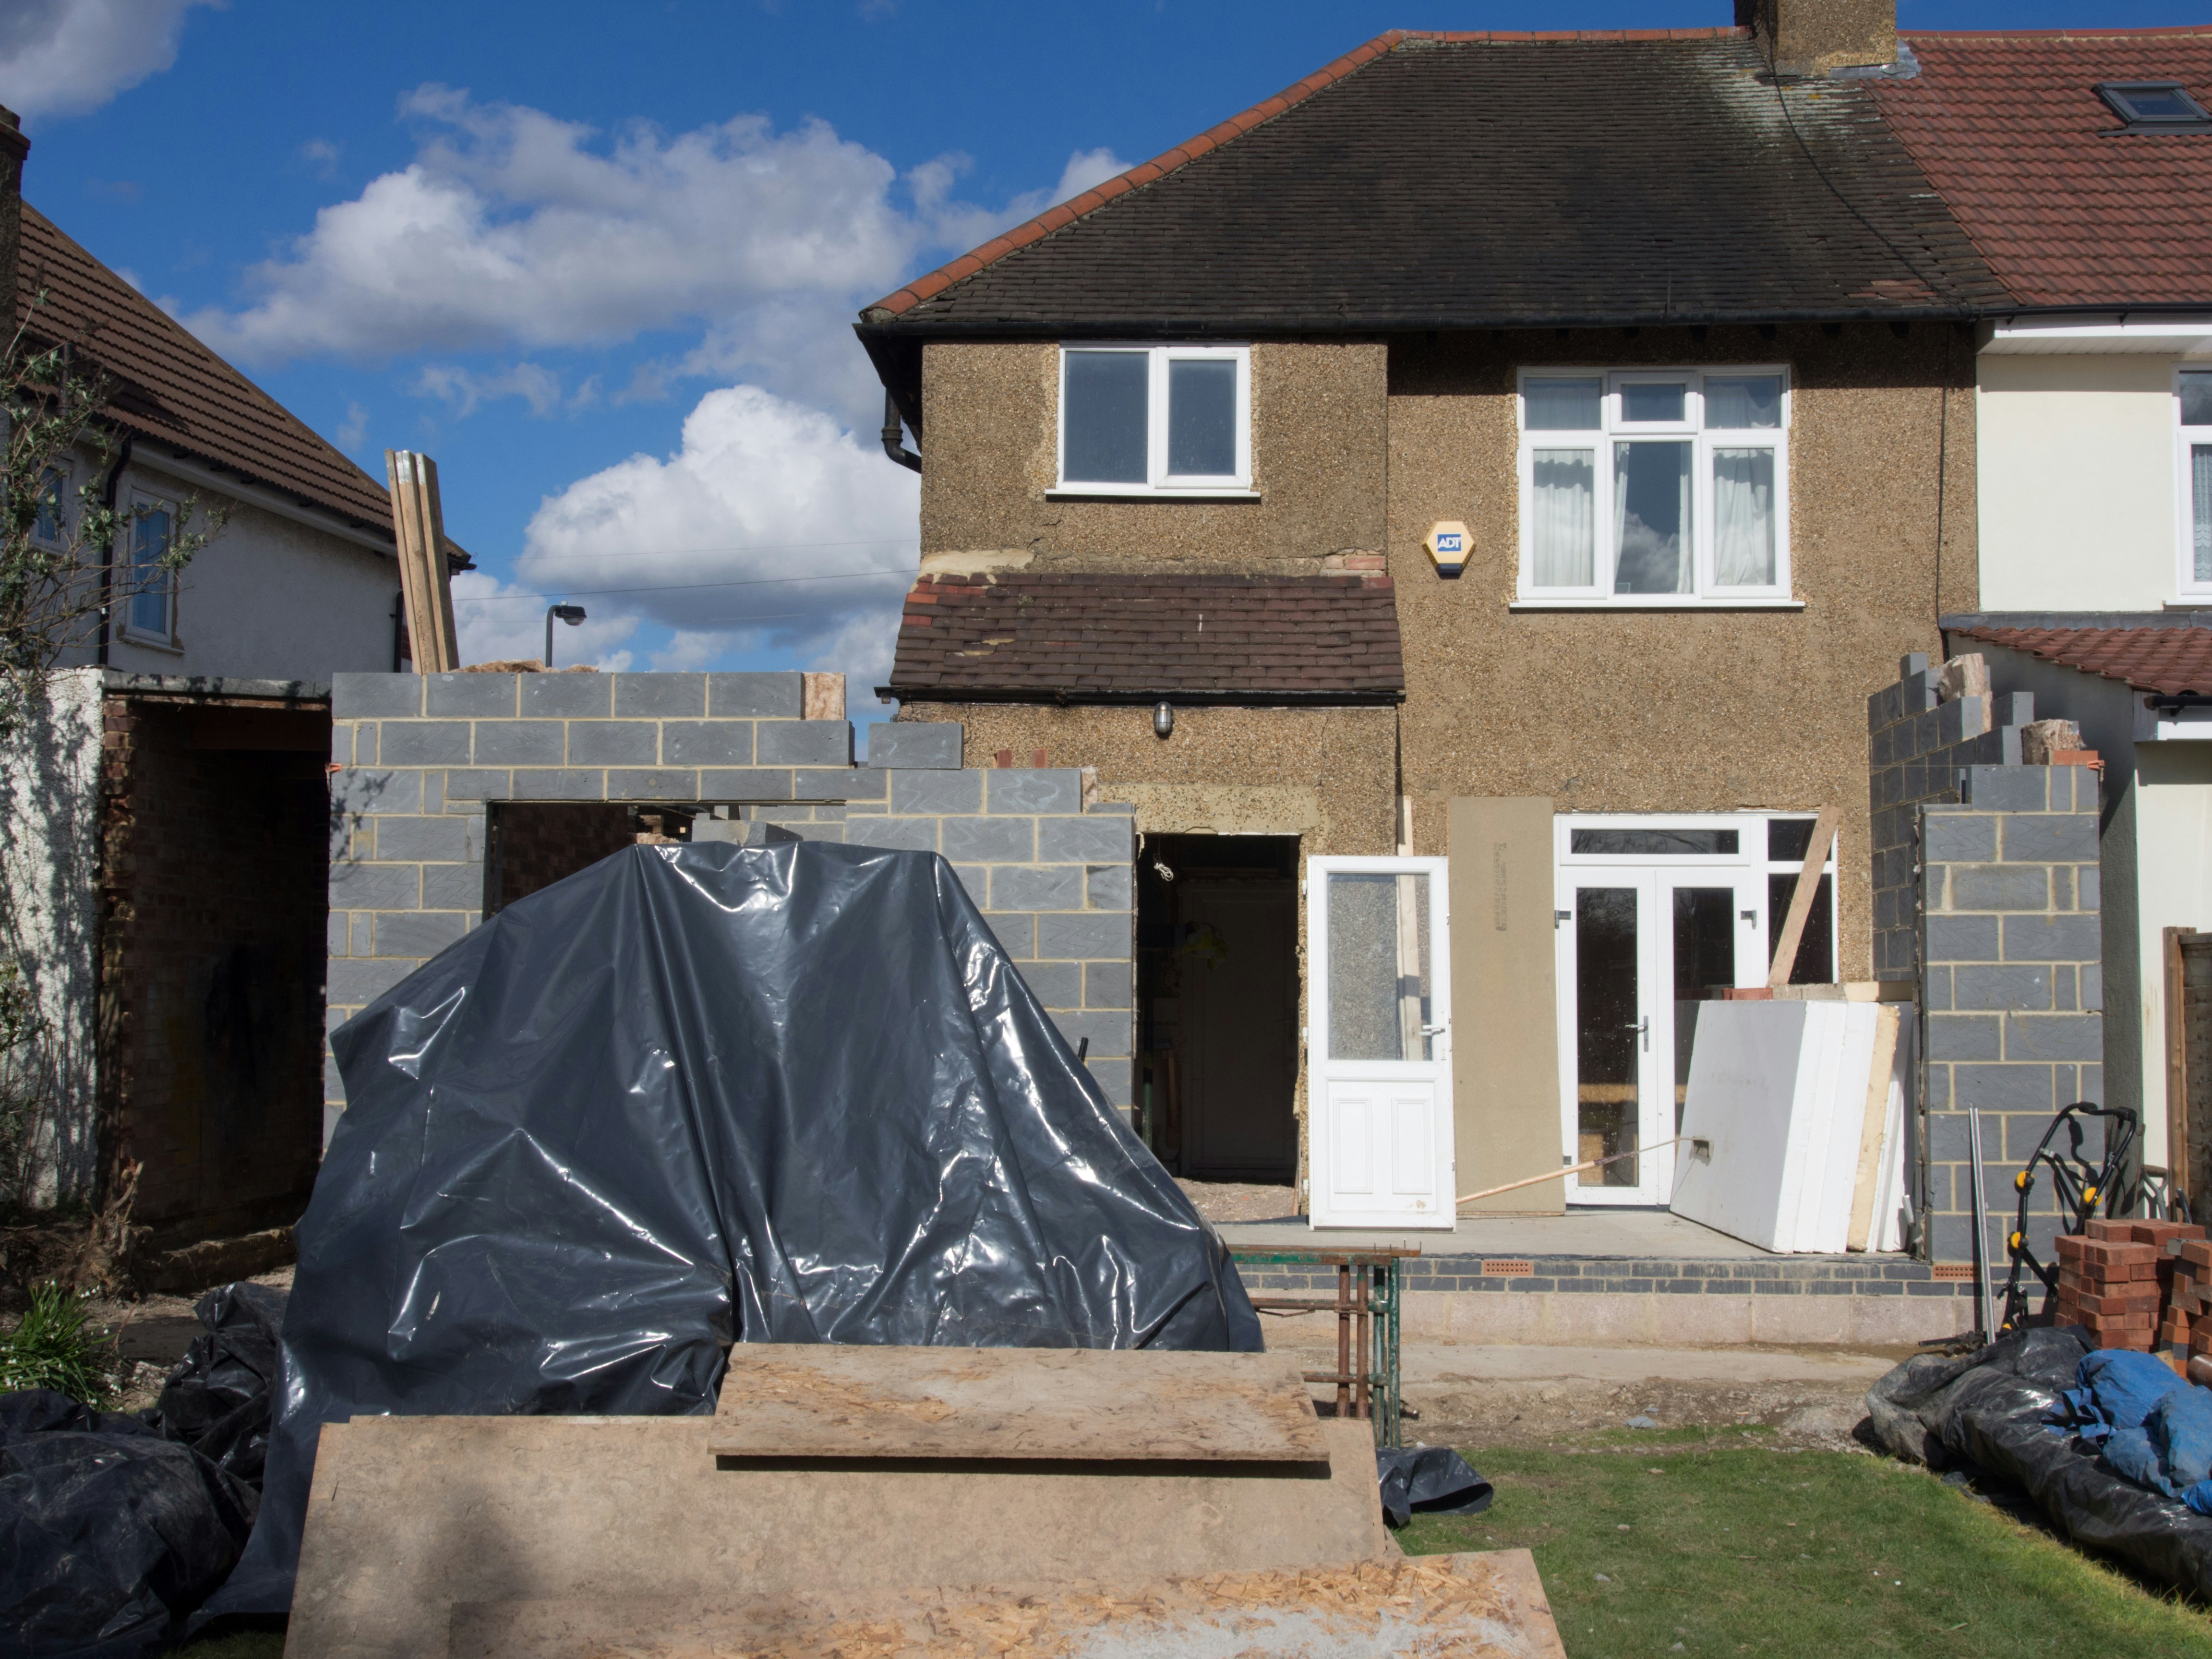
Q4: Do I need professional help at any point?
Only consider pros for major electrical or structural work. Otherwise, most can be done safely by beginners with tutorials.
 👍 Quick Summary: DIY Room Redesign on a Budget
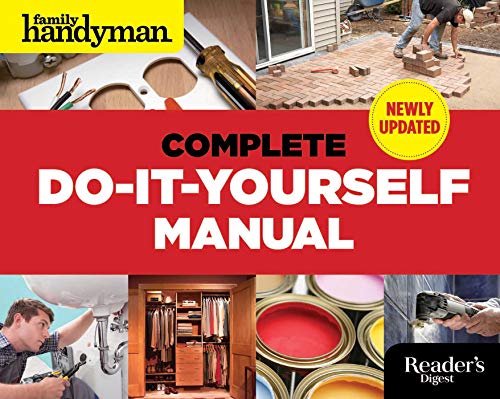
Looking to refresh your space affordably? This guide on DIY room redesign on a budget show how you can assess, rebuild, and revitalize your room step by step. By planning with clear goals, working within a budget, reusing what you have, and adding creative touches, you can transform your space in a few weekends—and learn valuable skills along the way. Here are some DIY manuals to help you get started!