Antique Mirror Restoration: The Ultimate Guide
Antique Mirror Restoration: The Ultimate Guide. Restoration equips you with step-by-step techniques and expert tips to safely clean, repair, and refinish antique mirrors while preserving original character and value; you’ll learn assessment methods, materials selection, and when to consult a conservator so your restorations are confident, reversible, and historically sensitive.
The Allure of Antique Mirrors: A Timeless Charm
You see antique mirrors as layered artifacts: 18th-century Venetian glass with hand-blown imperfections, mercury-tin silvering that ages into telltale foxing, and carved gilt frames bearing tool marks and old repairs. These details guide your decisions when you search for “how to restore antique mirrors,” letting you weigh conservation against cosmetic renewal; collectors often prioritize original patina and documented provenance, which can add thousands to an item’s market value when authentication is clear.
The Historical Significance of Mirrors
You trace mirrors from polished bronze discs in Bronze Age societies to blown-glass innovations in 16th–17th century Venice and Amsterdam, which enabled larger plates and ornate frames. Royal commissions—most famously the Hall of Mirrors at Versailles (completed 1684)—used dozens of matching panes to amplify light and status, demonstrating how mirrors shaped social architecture and taste across Europe for centuries.
The Aesthetic Value in Modern Decor
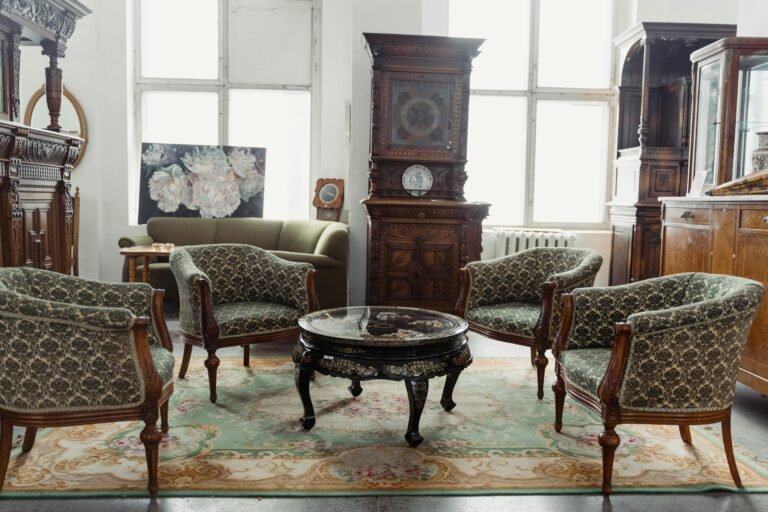
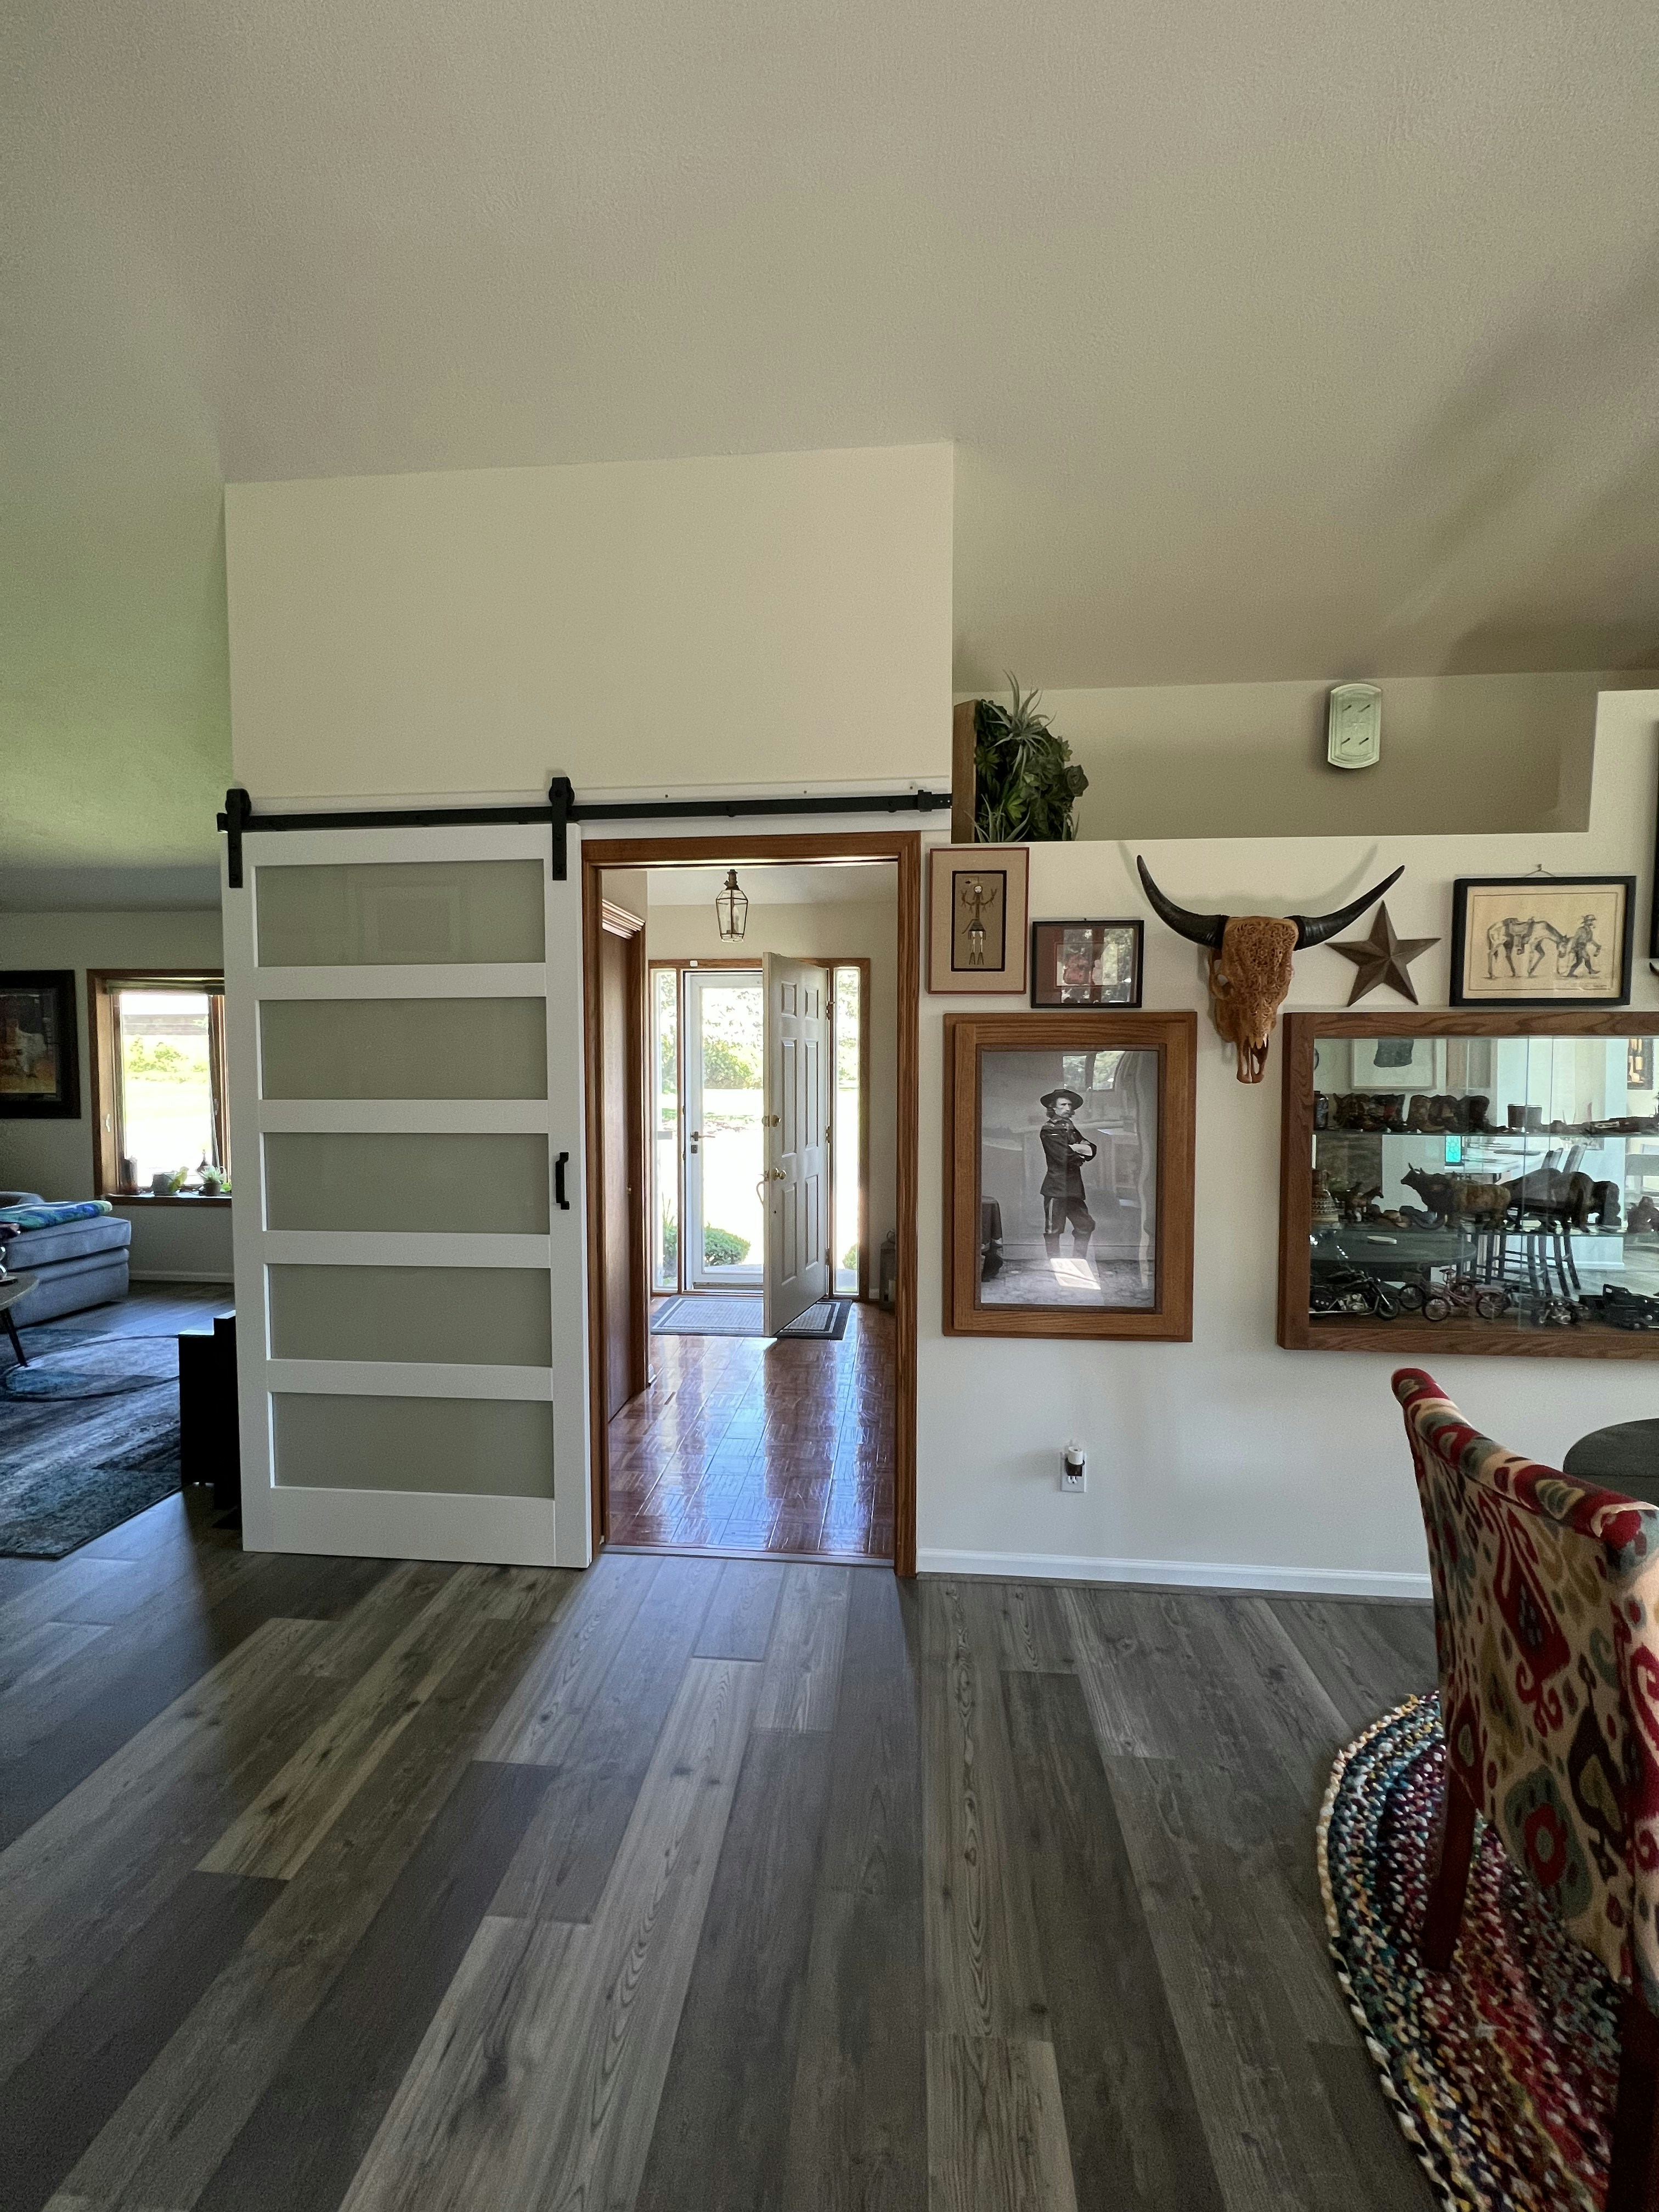
You integrate antique mirrors into contemporary interiors to create contrast and depth: a 36×48-inch 19th-century gilt mirror over a minimalist mantel anchors the space while reflecting art and natural light. Pairing a Rococo frame with Scandinavian furniture or industrial lighting produces curated tension that high-end designers use to elevate projects and attract clientele.
You can also use antique mirrors functionally—hallway placement multiplies daylight and improves wayfinding, while grouped smaller mirrors form a gallery wall that reads as both history and sculpture. When restoring glass versus replacing it, you preserve reflective warmth and unique distortions that digital photography and staged interiors prize, making authentic pieces especially valuable in hospitality and boutique retail design.
Unveiling the Secrets of Antique Mirror Degradation
Common Issues Affecting Antique Mirrors
Edge desilvering and black spotting are the failures you’ll see most often; moisture wicks in at the perimeter and lifts the silver, creating irregular halos that expand inward. Glass pitting, flaking of mercury or silver layers, backing adhesion loss, and frame insect damage commonly occur together—Victorian pier mirrors frequently show both edge desilvering and water staining from poor storage. Use this antique mirror restoration guide to triage which problems you can stabilize yourself and which require professional conservation.
The Science of Silvering and Deterioration
Original wet silvering (silver nitrate or mercury amalgam) produces a thin metallic layer that reacts chemically with sulfur- and chlorine-bearing pollutants, forming black Ag2S or silver chloride pitting. Relative humidity above ~60% and repeated thermal cycles accelerate corrosion and delamination; capillary action drives salts and moisture beneath the backing. You’ll notice edge-first loss and diffuse hazing where silver has oxidized or separated from the glass.
Conservation tackles these reactions by removing active salts, stabilizing the glass, and either consolidating the original silver or recreating a reflective backing. Museums often desalinate with buffered poultices, apply reversible consolidants to re-adhere delaminating silver, and use modern vacuum or chemical re-silvering techniques when original metal is lost—your choice depends on historical value, extent of loss, and long-term humidity control.
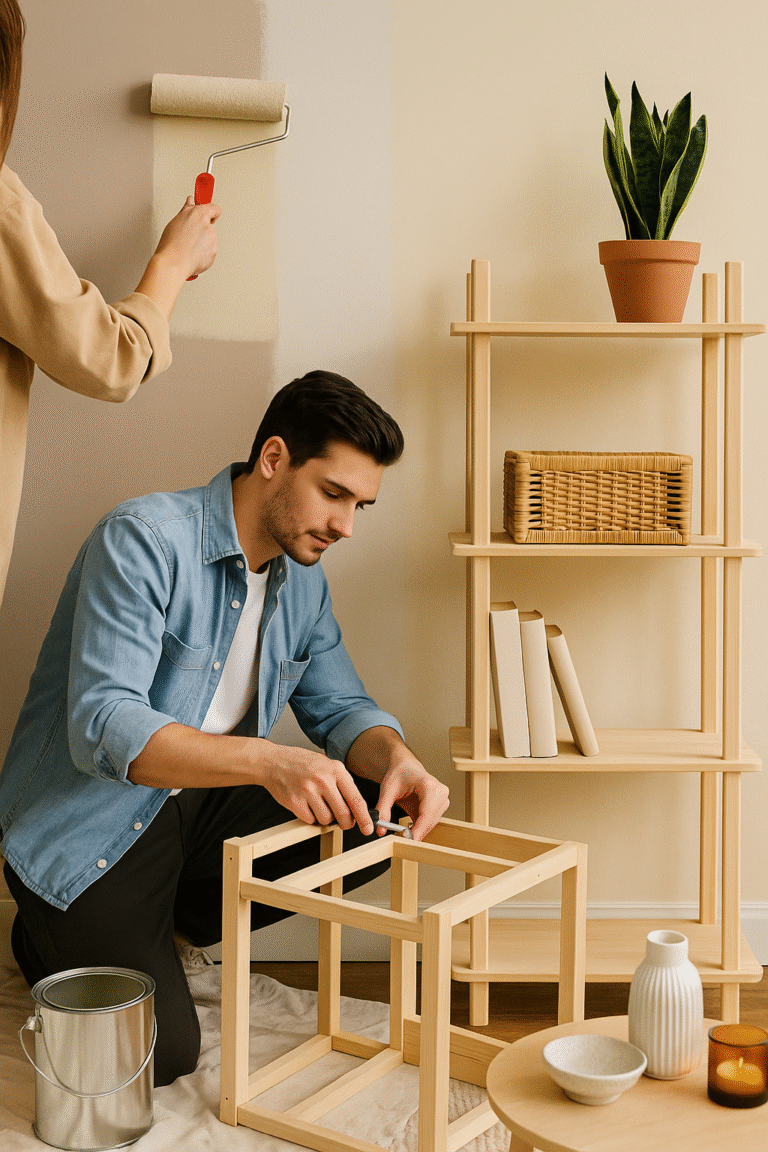
Essential Tools and Materials for Antique Mirror Restoration
Your workbench should include precision cleaning, repair, and safety items: distilled water and 70% isopropyl alcohol, lint-free microfiber cloths, cotton swabs, soft-bristle brushes, scalpel #11, palette knives, 400–600 grit sandpaper, small clamps and suction cups for handling glass, a 3M P100 respirator and nitrile gloves, Paraloid B-72 for consolidation, a short- and long-set two-part epoxy, conservation-grade mirror backing paint, and a silvering kit for full re-silvering jobs.
Gathering Your Restoration Toolkit
Start by collecting ten vitals you’ll reach for on nearly every job: measuring tape, suction cups, microfiber cloths, distilled water, cotton swabs, soft brushes, scalpel, palette knife, two clamp sizes, and a 3M P100 respirator. Add a rotary tool with diamond bits and a jeweler’s screwdriver set for stubborn fittings; these reduce risk of damage compared with improvised tools and let you remove frames and hardware cleanly.
Antique Restoration Products on Amazon
Choosing the Right Materials for Lasting Repair
Select conservation-grade products: Paraloid B-72 (5–10% in acetone) for stabilizing flaking gilt and paint, a quality two-part epoxy (5–30 minute pot life) for structural frame joints, acid-free backing paper, and a mirror-specific backing paint or silvering solution. When you follow manufacturer specs and documented methods for how to restore an antique mirror, repairs last decades rather than months.
For example, use Paraloid B-72 to consolidate flaky veneer—apply with a 0.5–1 mm brush; allow 24–48 hours to dry. Fill lost frame sections with epoxy putty, cure per product instructions, then sand with 400–600 grit before gilding. Avoid household silicone on backings because it traps moisture; choose stainless-steel fasteners to prevent corrosion against silvered glass.
Step-by-Step Restoration Process: Bringing Life Back to Antique Mirrors
| Assessment & Documentation | You inspect glass, backing, and frame, photograph damage, and note dimensions; cataloging chips, foxing, and flaking helps you decide between spot repair, partial re-silvering, or full re-silvering. |
| Disassembly & Frame Protection | You carefully remove the mirror from its frame, label pieces, pad gilt or wood with acid-free paper, and store hardware to prevent further damage during work. |
| Cleaning & Surface Prep | You test solvents on a 1-inch area, then use distilled water, 70% isopropyl alcohol, and a microfiber cloth to remove soot and oils without disturbing remaining silvering. |
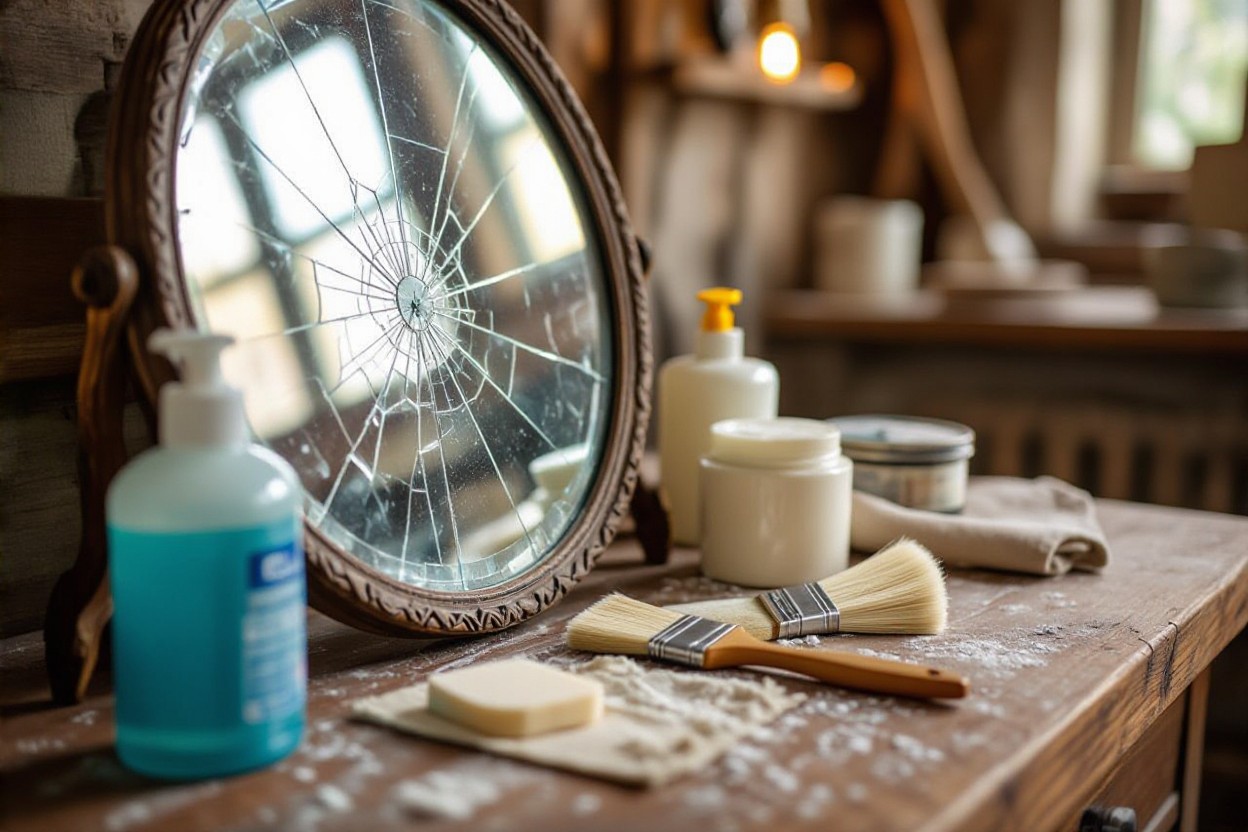
| Minor Glass Repairs | You fill hairline cracks with UV-curable resin or replace small glass sections; small chips can be stabilized with conservation adhesives before cosmetic work. |
| Repairing Silvering & Losses | You choose spot re-silvering for localized loss, full chemical re-silvering for widespread foxing, or creative back-painting to mimic antique patina when preservation of original backing is preferred. |
| Toning & Patination | You apply diluted liver of sulfur or artist glazes to harmonize new silver with surrounding aged areas, often doing 1–3 thin passes to reach a natural look. |
| Sealing & Reassembly | You protect repairs with a copper-gilded layer and conservation-grade varnish, then reassemble and remount using felt pads to prevent rattling and future abrasion. |
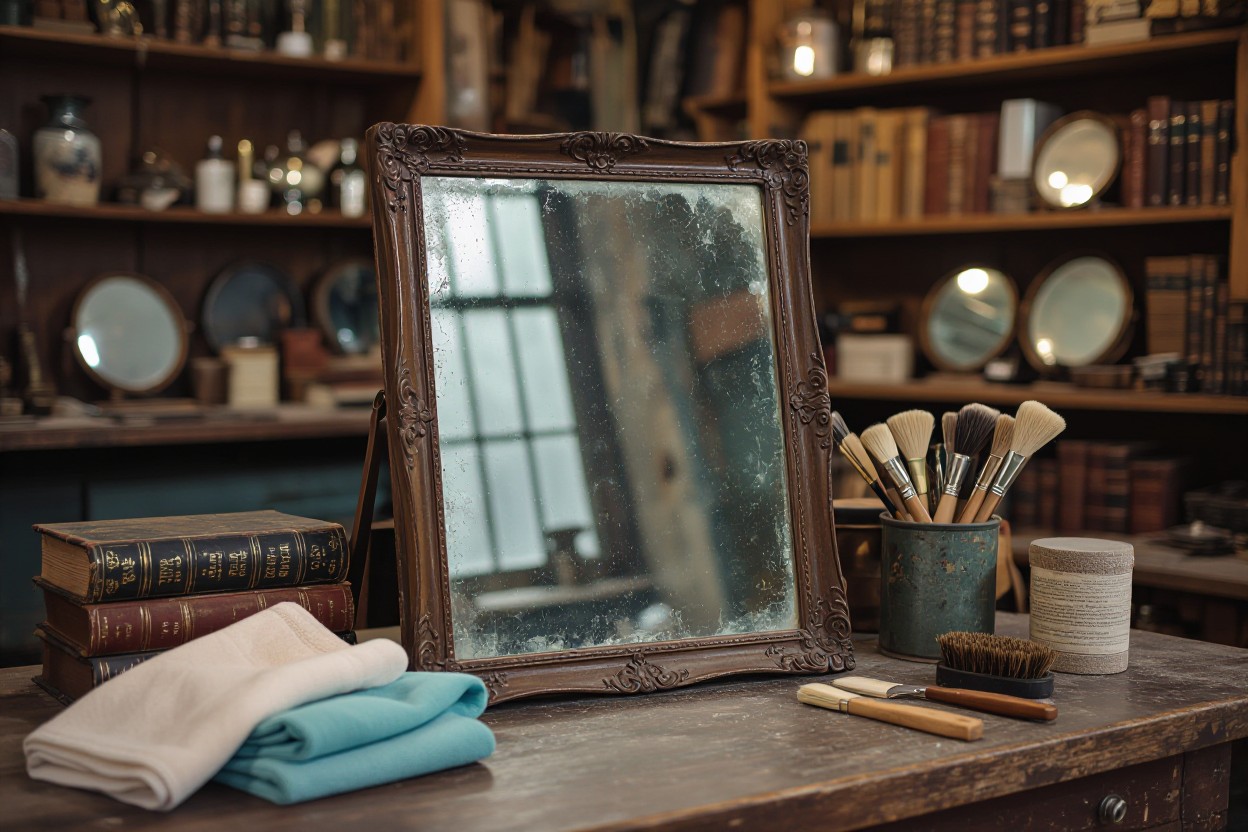
Cleaning and Preparing the Mirror Surface
Start by testing a 1-inch square with distilled water and 70% isopropyl alcohol to gauge solubility; use a soft-bristle brush to lift grit, then clean in 2×2 ft sections with a lint-free microfiber and vertical strokes, drying immediately to avoid streaks—avoid ammonia on painted or gilt edges and label any fragile areas for specialist attention.
Repairing the Silvering and Other Damages
Assess whether losses are isolated or widespread: spot-silver kits work for small voids, while full chemical re-silvering restores reflectivity across >50% loss; plan budgets accordingly—professional re-silvering often ranges $200–$800 for medium-size mirrors—and weigh conservation versus replacement of historic backing.
For spot re-silvering you degrease with ethanol, remove loose backing paint, then apply a silvering solution or use a leaf-and-varnish technique for authenticity; allow 24–48 hours between coats, test toning with dilute liver of sulfur to match adjacent patina, and finally seal with a copper layer plus conservation varnish to prevent future oxidation. In a 19th-century wall mirror restoration, targeted spot re-silvering restored roughly 80% of visual reflectivity while preserving original edge foxing valued by collectors, demonstrating that selective intervention often yields the best balance between aesthetics and provenance.
Preserving Your Restored Antique Mirror: Tips for Longevity
Control microclimate: aim for 40–55% relative humidity and 60–75°F to prevent wood shrinkage and silvering loss, place mirrors away from radiators and HVAC vents, and install UV-filtering film to reduce fading by up to 70%. Use acid-free backing and archival tape for any resealing, document condition with photos every 6 months, and follow targeted antique mirror restoration tips to prolong value and appearance.
- Keep humidity 40–55% and temperature 60–75°F.
- Use UV-filtering window film and avoid direct sunlight.
- Apply acid-free backing and archival tapes for seams.
- Dust weekly with a microfiber; handle by the frame only.
- Inspect and photograph every 3–6 months for desilvering or pest activity.
- This checklist, followed consistently, can extend a restored mirror’s life by decades.
The Best Storage Practices for Antique Mirrors
Store mirrors upright on padded A-frames or cradles with a 1–3° lean to relieve stress; keep them off concrete floors on blocks 6–12 inches high to avoid moisture wicking. Wrap the glass in acid-free paper and use foam corner protectors, never clingfilm; leave 2–4 inches between stacked pieces. Maintain climate control at 40–55% RH and 60–75°F and label both sides with condition notes and orientation arrows to prevent accidental damage.
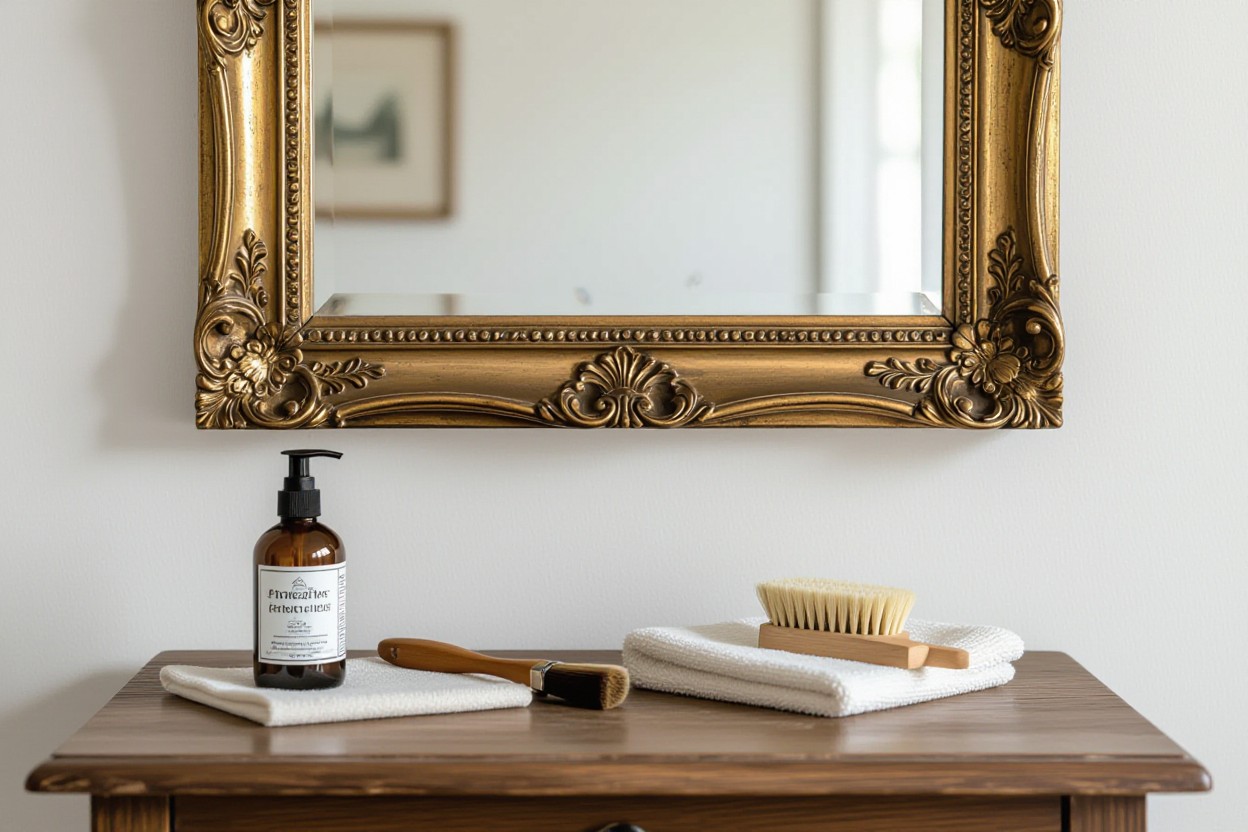
Maintenance Routine for Ongoing Care
Dust weekly using a soft microfiber or sable brush, clean glass monthly with a cloth dampened in 50:50 distilled water and white vinegar (never spray directly), and inspect backing and frame every 3 months for signs of desilvering, mold, or insect activity; tighten hanging hardware every 6 months and document changes with dated photos as part of your antique mirror restoration tips.
Begin each maintenance session by removing surface dust with a long, soft-haired brush, then wipe glass in vertical strokes using a lint-free cloth lightly dampened with the 50:50 distilled water/white vinegar mix—apply liquid to the cloth, not the glass. For crevices or tooling, use cotton swabs dampened with the same solution. Refrain from ammonia or abrasive cleaners; test any product in a hidden corner first. Inspect the backing for black spots (desilvering) and note percentage of loss—if greater than ~10% or progressing rapidly over two consecutive quarters, schedule professional re-silvering or localised conservation. For wooden or gilded frames, apply a conservation-grade microcrystalline wax every 6–12 months, and treat signs of woodworm or active pests immediately with an approved conservator-recommended protocol.
Exploring the Market: When to Consult a Professional Restorer
Assess damage against cost when deciding on how to restore antique mirror pieces; small edge foxing can be DIY, but when silvering loss exceeds roughly 25–30% of the surface, original mercury silvering flakes, or the frame shows structural rot, you should consult a pro. Expect professional quotes ranging from about $200 for minor re-silvering to $2,500+ for full conservation of large 19th-century examples, and always compare at least three estimates before committing.
Recognizing Complex Issues Beyond DIY-Antique Mirror Restoration
Look for signs like delamination, active corrosion eating through the silver backing, glass hairline fractures, or composite frames with multiple materials—these problems often require lab-grade solvents, controlled humidity chambers, or re-gilding techniques. If damage affects more than a quarter of the reflective surface, or the mirror has historic finishes tied to provenance, DIY approaches risk irreversible loss of value and original material. If DIY is not your thing, check these products out:


Finding Trustworthy Restoration Experts
Seek conservators affiliated with recognized bodies (AIC in the U.S., ICON in the U.K.), review portfolios with 20+ mirror restorations, and request written treatment plans with estimated timelines and itemized costs. Verify public liability insurance, ask for at least two client references, and insist on before/after photos and a condition report that documents original materials and any interventions to protect provenance and resale value.
When vetting candidates, probe methods: confirm use of reversible conservation techniques, ask whether they perform on-site versus workshop treatments, and request a timeline—most complex restorations take 2–8 weeks. Obtain a signed contract detailing guarantees, storage and transport procedures, and an archival-quality record of treatments; these steps reduce risk and let you compare specialists objectively when deciding how to restore antique mirror items.
Final Thoughts: Antique Mirror Restoration: The Ultimate Guide
Upon reflecting on antique mirror restoration, you can assess condition, prioritize gentle cleaning and structural stabilization, and choose appropriate re-silvering or conservation techniques that protect original character. Use proper tools, document each step, and balance preservation with repair; when degeneration exceeds DIY limits, engage a qualified conservator to safeguard value and authenticity while ensuring safety throughout the process.